Wordpress on Raspberry Pi
This tutorial will demonstrate how to install and host Wordpress on Raspberry Pi. This process assumes you have Debian for Raspberry Pi installed on an SD card. If not, see RPi Easy SD card setup.
Install Apache
Wordpress runs on the Apache2 web server. To setup Apache, follow the instructions in my previous post, Raspberry Pi and Apache.
Install MySQL and PHP
Begin by installing the required dependencies. From a terminal:
sudo apt-get install mysql-server-5.5 php5 php5-mysql php5-gd
Next run the MySQL init script:
sudo mysql_install_db
Download and Extract Wordpress
Download the latest wordpress source files
wget http://wordpress.org/latest.tar.gz
Extract the downloaded archive:
tar -xvzf latest.tar.gz
Create a directory in /var/www for the WordPress install:
sudo mkdir /var/www/wordpress
Copy over the extacted files:
sudo cp -r ~/wordpress/* /var/www/wordpress
Configure Apache
Next, make a backup of the apache config file, then open it in a text editor:
sudo cp /etc/apache2/apache2.conf /etc/apache2/apache2.conf.bak
sudo vim.tiny /etc/apache2/apache2.conf
Add this line to the end of the file:
AddType application/x-httpd-php .html
And restart Apache
sudo /etc/init.d/apache2 restart
Configure MySQL
The next step is to configure MySQL for use with WordPress. WordPress needs a database and user, and permissions set correctly for access. Start the mysql config:
mysql -u root -p
Enter the root MySQL password, then arrive at the mysql prompt
mysql>
Create a database for Wordpress, create a user for the database, and set password set the permissions:
CREATE DATABASE wordpress;
CREATE USER wordpressuser;
SET PASSWORD FOR wordpressuser= PASSWORD("1234");
GRANT ALL PRIVILEGES ON wordpress.* TO wordpressuser IDENTIFIED BY '1234';
FLUSH TABLES;
Then quit the MySQL client:
exit
Now create a new wordpress configuration based on the sample:
sudo cp /var/www/wordpress/wp-config-sample.php /var/www/wordpress/wp-config.php
And open it up for edit in an editor:
sudo vim.tiny /var/www/wordpress/wp-config.php
Change this:
/** The name of the database for WordPress */
define('DB_NAME', 'database_name_here');

/** MySQL database username */
define('DB_USER', 'username_here');

/** MySQL database password */
define('DB_PASSWORD', 'password_here');
to this (substituting password_here with your own from above):
/** The name of the database for WordPress */
define('DB_NAME', 'wordpress');

/** MySQL database username */
define('DB_USER', 'wordpressuser');

/** MySQL database password */
define('DB_PASSWORD', 'password_here');
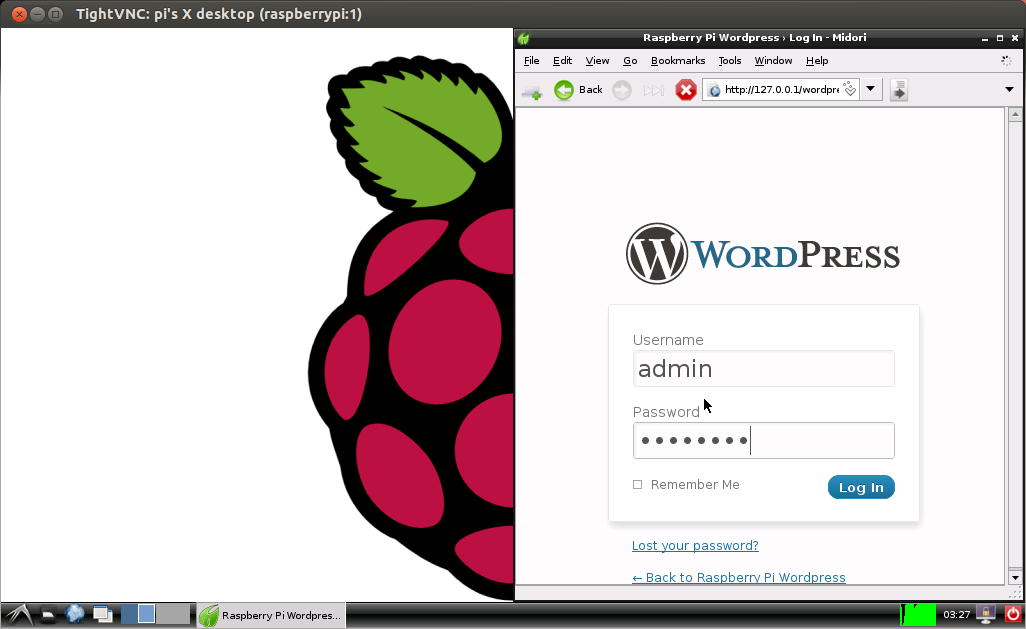
Finalizing the install
The hard part is over! Now open up a browser and head to the site and finalize the install. To do this, navigate from a browser on another machine on your local network, only substitute the local address of the Raspberry Pi. To find the address of the Raspberry Pi, open a terminal and run:
ifconfig
Then navigate to that address with a trailing /wordpress from a browser on the same local network:
http://192.168.1.100/wordpress