Peer Guardian on Raspberry Pi
This tutorial will show how to compile and install Peer Guardian on a Raspberry Pi. The process requires the at least the 2012-06-18-wheezy-beta.zip or newer Debian image (or manual kernel re-compilation). This will NOT work with debian6-19-04-2012.zip since the kernel does not have net filtering enabled. Also, you will need a decent sized SD card (4GB at least) … the dependencies alone require 382 MB.
First, install the required package dependencies. In a terminal on the Raspberry Pi:
sudo apt-get install libnetfilter-queue-dev lsb-qt4 libdbus-1-dev qt4-dev-tools libdbus-1-dev libdbus-glib-1-dev firehol firestarter ufw zlib1g-dev
Next, download and extract the Peer Guardian source archive, then change directory to the root of the tree:
wget http://downloads.sourceforge.net/project/peerguardian/PeerGuardian%20Linux/2.1.3/pgl-2.1.3.tar.gz
tar -xvf pgl-2.1.3.tar.gz
cd pgl-2.1.3/
Now we are finally ready to start the build! To compile, run make, then install Peer Guardian with make install:
make
sudo make install
Finally,
sudo /usr/lib/lsb/install_initd /etc/init.d/pgl
Now reboot the Pi:
sudo reboot
And on start-up you will see the confirmation that it starts:
Starting PeerGuardian Linux: pgld.
Note: this takes much longer than usual for the first boot, be patient!
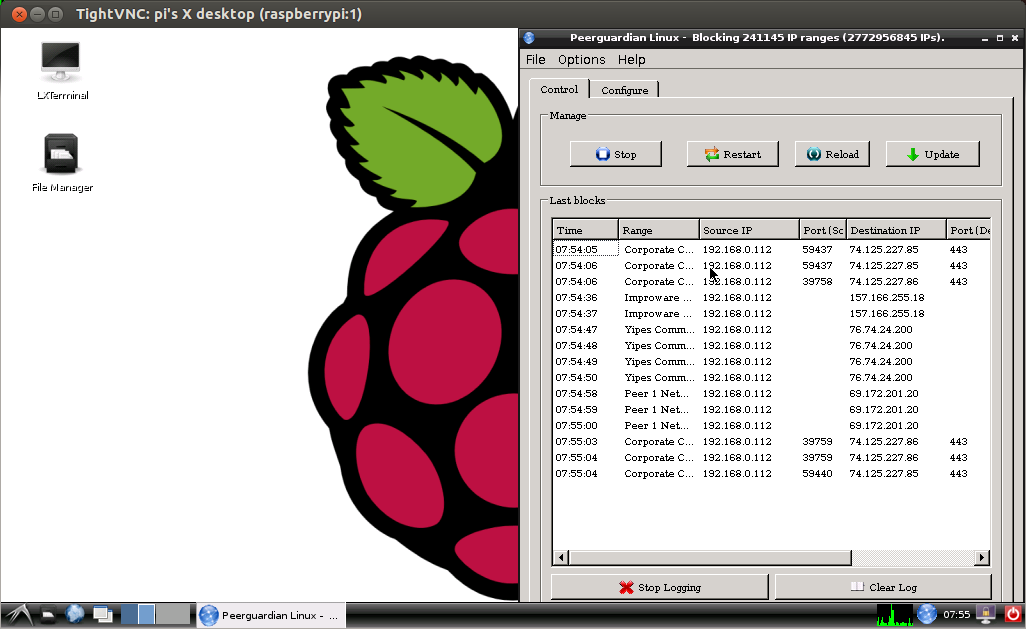
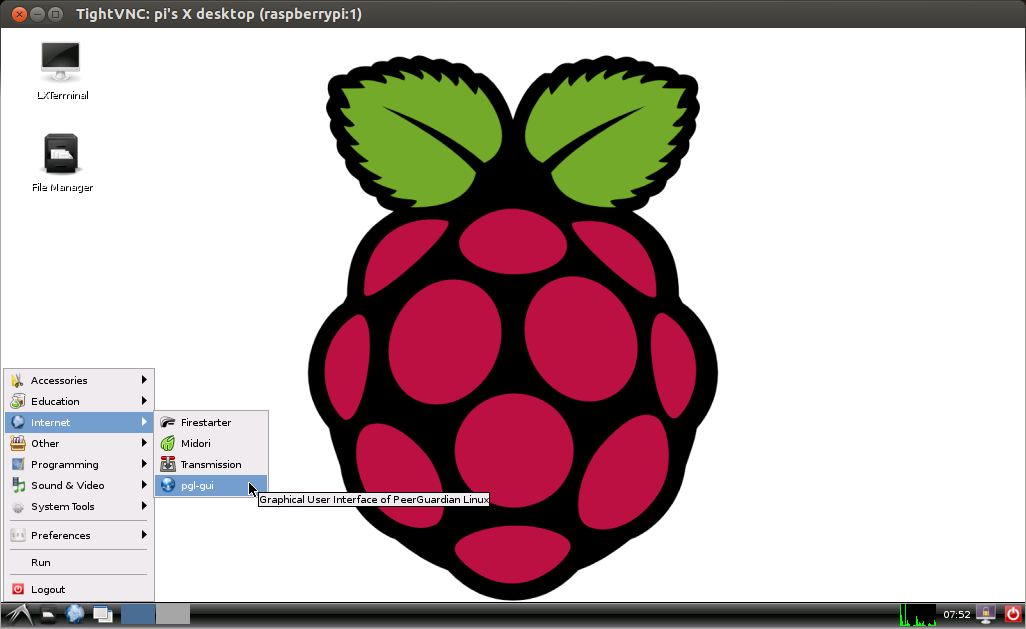
To start the GUI from the LXDE menu, select Internet -> pgl-gui
The default settings are very strict and you will likely want to change them. It even blocks access to the apt sources, so until you changes the settings, even ‘apt-get update’ will fail.